Wednesday, December 26, 2012

Happy Holidays!

I hope everyone had a happy holiday yesterday and got everything they wished for! Recently Dave and I attended an "Ugly Christmas Sweater Party". We looked at several different Goodwill's and Salvation Army's, and even a few thrift stores, but couldn't find any ugly sweaters. They must have gone fast. We in turn made our own (and by we, I mean me hahaha).


I appliquéd a green tree onto some red sweatshirts, we bought a strand of battery operated twinkling lights at Target and strung them trough the shirt, dded some puff paint and jingle bells and fun pom-poms and voila! Light up Christmas sweaters!

They were a huge hit at the party! Maybe next year I'll get some of these onto my Etsy store!!!

Until next time, happy crafting!


Thursday, December 13, 2012

More Wreaths!

It has been wreath season! Not just Christmas wreaths but all kinds! I'm in the process of making another one of the flag wreaths for my grandmother! If I get it done in time I'll send it for Christmas, but if not her birthday is in February!

Earlier this week I got an order for another Cowboys wreath! It was very exciting! I've had a total of 3 orders since I started my blog so everyone is very exciting, haha! My friend ordered the wreath but much to my dismay every where I went was out of silver deco mesh! I would've thought red or green or white would be gone but no, it was the silver! I had to improvise and was a bit weary of how she would like it since it didn't look exactly like my first one. But she LOVED it! And her boyfriend LOVED it too! So all is well!


I put more stars on this one and added a cute football!

Also I made another wreath for my grandmother. Her favorite color is blue, like a turquoise blue and while shopping for silver deco mesh, my mom and I came across a beautiful turquoise deco mesh. We promptly searched the Christmas section for add-on's (sine everything was 50% off) that weren't too Christmas-y! I think we did great!


I love that this wreath is so simple but has a ton of color!

 Close up of the birds.

 Close up of the cross.


Close up of the bow. I love how this ribbon has undertones of the turquoise and white!

Until next time, happy crafting!

Monday, December 10, 2012

Gift Wrapping Galore!

I saw a pin on pinterest for a fun way to wrap gifts that makes it look like they were wrapped in a chalkboard. The link took you to a blog of a paper company. They wanted you to buy their paper. I looked at staples and found comparative paper in the teaching supplies section, it was like a smaller version of a giant role of butcher paper.

Here is how my packages turned out:


This way to wrap gifts could work for any holiday or event!

Until next time, happy crafting!

Saturday, December 8, 2012

Oh Christmas Wreath, Oh Christmas Wreath...

I have really enjoyed making wreaths. They are so fun and easy. You can add as much or as little stuff to them! I made a really crummy wreath a few years ago. I didn't really have an idea or the materials (Just three different kinds of ribbon, which could have been cool but I really didn't know what I was doing) and it turned out to be a sad little Christmas wreath. I used that wreath "form" and recreated it this year. Gotta love it when all the craft stores have 60% off their Christmas stems and accents!

 The one for my house:


The last picture is pretty dark so I added the first one too even though the ribbon was flying with the wind.

And the one for my sister's apartment:


I had to make her wreath "form" out of a wire wreath form and a garland. It was so difficult (ha) and the garland didn't go around twice so I had to fill in the gaps with decorations but I still think it turned out great!

Let me know if you recreate any of these wreaths! Until next time, happy crafting!


Monday, December 3, 2012

Paracord Items

I have been super busy lately trying to get Christmas gifts put together and made so it has been hard to post what I've been doing. I have been making quite a few paracord bracelets for people though. I made a watch band for my cousin over Thanksgiving and one for Dave.

My cousin's watch:


To close the watch band I used a lanyard knot. I found a great video tutorial on how to make it here. It took a couple of scrap pieces for me to get the handle of where its supposed to be placed though.

Dave's:


Dave's closes with a parachute clasp. Both are made with a square knot but I've seen them done with a fishtail braid too. Mine took about 6-7 feet of cord of each bracelet. You never know when it might come in handy!

Until next time, happy crafting!

Tuesday, November 27, 2012

Doggie Jacket

I hope everyone had a wonderful Thanksgiving and is enjoying all the wonderful holiday decorations that are going up! I know I am!

The weather here is really bizarre! One day it's 80 degrees the next day it's in the 50's! That's what happened over Thanksgiving!!! Well my little Chihuahua does not like the cold, let me stress the not liking the cold. She hates having to go outside and potty if it is not 70 or higher. I bought a yard remnant last year to make her a doggie jacket but never got around to putting it together. I found a link to these two wonderful patterns on pinterest, here and here. The one I made was more of the first pattern since it would've been easier to put on my dog. Also I didn't line mine since I just used fleece.


I think she likes it. When she wears it she looks like she has a cape on, haha!

Until next time, happy crafting!

Monday, November 19, 2012

Bean Bag Chairs!

Sorry for the late update for the past 2 weeks I was one the set of the new season of Dallas. I'm just an extra but I made a ton of connections and met some really awesome people, who knows it might lead to  bigger and better roles!! On set I've been knitting and I have an awesome project I've almost finished (Post coming soon)! Other than that I finished a pretty cool set of bean bag/foof chairs for Dave and his family!


I found an update on them here. She had the basic pattern shape on there so if you are good with making your own patterns and figuring out sizes you could probably just do that. I on the other hand am fairly new to pattern making of the top of my head and what I've done so far is super basic so I went to the 
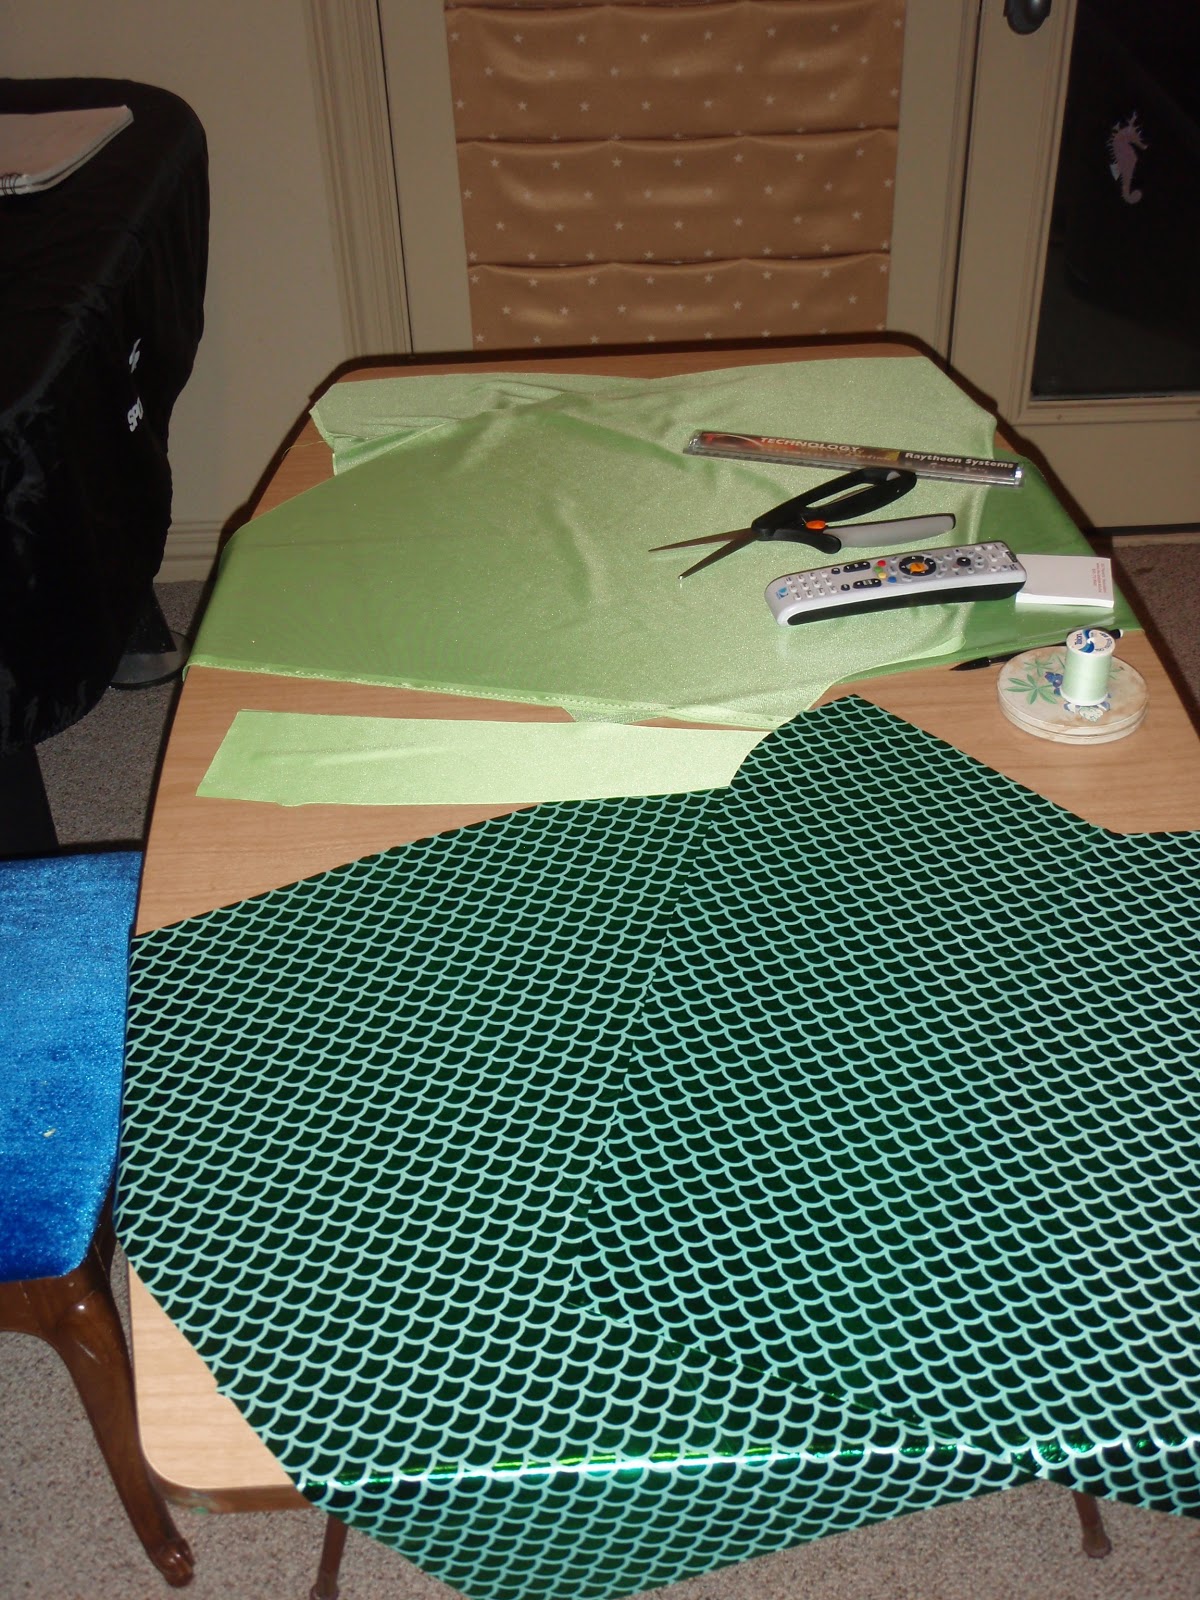
original author's site and bought the pattern. The pattern was only $8.00 and came with a ton of helpful insights. I wish I had bought the pattern before I bought all my fabric and notions, Dave thought he might be able to figure out the pattern on his own since it was symmetrical. Thankfully I bought 4 yards of fabric of all my pieces but my zipper was a bit small (and we ended up ripping a seam when we tried to stuff it) but we made it work.

Like the author said you could go as cheap of expensive as you want with these. We bought more expensive fabric but we used an old pair of foof chairs for the stuffing (We even have a bit left over I might make another for my game room!). Our are filled with foam pieces instead of the stuffing the author used.


These are the most popular chairs to sit in, haha. We made the large size chairs and that sits an adult comfortably, just not as enveloped as the kids in the tutorial pictures haha. Overall they were a huge success! I will warn you, they are a bit time heavy it took me about a day to make one (I made an insert and the cover).

Until next time, happy crafting!

Wednesday, November 7, 2012

Something You Put Other Things In!

I've had a ton of little projects I've been doing this week! It feels really good to work on stuff! Also I've been working on my online shop! Hopefully it will be up in a few days. There are just a few items and more will be added as soon as I can get some made and photographed!

Recently I made a laptop case and a business card holder!


I found this super awesome fabric at JoAnn's and wanted to make a laptop case out of it but couldn't figure out how to do it. I found this tutorial and modified it just a bit for it to work the way I wanted. I wish I would've used red velcro instead.

Below is the business card holder I made to hold my networking cards and the cards I made for my crafts and such! I made it out of remnants I had around!


Until next time, happy crafting!

Thursday, November 1, 2012

Happy Halloween!

I hope everyone had a fun and safe Halloween! I had made sooooo many costumes for other people that I didn't get a chance to make one for myself. Not saying that I really wanted to make one for myself (I couldn't really think of an idea and was just going to go with my Lara Croft costume that I love). Instead I wore the female Robin hood costume that I made 2 years ago but got sick and couldn't wear. I must say though I wore it much better this year hahaha.


Dave went as Nathan Drake from the Uncharted video game series. You might recognize the gun holsters I made for him earlier this year!


I have quite a few more projects on the table and I can't wait to get started on them! Until next time, happy crafting!

Friday, October 26, 2012

Everyone Needs a Little Bit of Glitter in Their Life

My sister is a little bit obsessed with glitter and by a little I mean A LOT! Not too long ago she found a link on Pinterest on how to add glitter to your Starbucks cup and she just had to have it! Well off to Michael's we went (we already had the Starbucks cup). I used a glitter spray glue because I was a bit confused when I got to the store. The glitter might've stuck better with the glue spray for glitter but I should've probably bought a clear gloss spay also to spray over the glitter once I finished. Also, my glitter got a little too thick onto the cup so some glitter got knocked off when I replaced the outside covering. My sister's cup will probably never be able to be taken apart again and to be honest I'm surprised the original maker can take hers apart without losing lots of glitter also!

I made my sister's with blue glitter for the Cowboys because she is a huge Cowboys fan haha.


Until next time, happy crafting!!

Tuesday, October 23, 2012

Another Tutu!

The title says it all haha. Last night I was volunteered to make another tutu for my sister's friend for Halloween. Her group is doing a Toddlers & Tiaras theme costume. She wanted a pink and sparkle tutu so I rummaged through my tulle and found 4 different pinks, a glitter grey (which got everywhere), and a shinny white. Also I did this one a little different, instead of tying the tulle onto the elastic I just folded it over and then sewed it down making sure not to sew the elastic. Also I used a thicker elastic. The last tutu I made, the elastic folded over because the tulle got pulled too tight.


I mailed it off today, hopefully she gets it in time for her party on Friday!!

Until next time, happy crafting!!!

Monday, October 15, 2012

Halloween is Fast Approaching!

This is probably my favorite time of the year. The leaves start turning, the air gets crisper, you can wear your boots again! Also it's Halloween time!!! Recently I made a Halloween vest for my mom! I used Butterick pattern 5888. She wanted 2 different Halloween vests and I'm working on the second right now!


The bat fabric was just too cute and it sparkles! She really likes it!

I also made a few Halloween themed headbands. They are very similar to the sweaty bands brand but don't cost an arm and a leg (I sell them for $5). If you want one let me know!


The ghosts sparkle!

Until next time, happy crafting!

Thursday, October 11, 2012

Mermaid Skirt

I had another commission! My good friend Taylor wanted to do an Ariel cosplay and asked if I could make her a mermaid skirt like one she had seen in a few pictures. I, of course, took the challenge because I had never made my own pattern for an outfit, just little things like pin cushions or the cut outs for the R2-D2 trashcan. It actually wasn't that hard. I googled how to make a pattern and even looked on pinterest and found a few good sites.

I used butcher paper (it was free from my mom's work) and the paper was so thick I couldn't put pins through it (also the fabric decided to not want to be pinned also which proved problematic throughout the process) so I had to devise my own pattern weights (coasters haha). I took my friend's measurements and did a few doodles and viola! a pattern emerged!


It came to 4 pieces; the front and back of the skirt, the fin (a circle skirt), and the top fin. We found really awesome fish scale fabric at Jo-Ann's and used that for the skirt (it didn't like being pinned) and a pretty stretchy lime sparkly fabric for the fin.


I had to do some minor adjustments after a fitting but nothing too big. I think the final product turned out great. Now I have a pattern for an awesome mermaid skirt for the future!


Until next time, happy crafting!


**UPDATE**

Here is a picture of my friend in her costume at the convention! She was a total hit, everyone wanted her picture. Even Felicia Day was impressed. I feel special!


Wednesday, October 3, 2012

My First Commission!

So recently I was commissioned to make a "House Divided" wreath for my old boss back in Iowa. She wanted a Denver Broncos/Chicago Bears wreath. Luckily they have the same colors so I didn't have to figure out how to mix the sides (Although it would've been really cool to switch the colors on each side. I need to remember that for the future!). Every Hobby Lobby and Michaels was sold out of orange deco mesh so I had to switch my colors and use a different kind of accent ribbon. I am actually really proud of how it turned out, the different textures really gives it an awesome look!


In the works I have an Ariel tail and a Daphne dress. I'm thinking I'm going to save the money I make on these commission works and buy myself a serger! I could really use one of those. Any and all help is appreciated, I offer good prices and I can pretty much make anything!

Until next time, happy crafting!

Monday, October 1, 2012

R2D2 Trashcan!

Dave and I were browsing Pinterest the other day and we came across an ETSY listing for a R2D2 trashcan. It looked simple enough so we decided to try and make our own. At first we thought about painting on the designs but then there was the mess of sealing the paint so it didn't chip, and that the original can looked like the shapes were stickers or something. We finally decided on self adhesive vinyl, just seemed easier! We found the trashcan at the Container Store for $5 and the vinyl was at Hobby Lobby (10 feet for $7.99 but it was half off when I went!)


Here is what it looked like after the first night...


The final product!

I have a crap ton of vinyl left over so if any one wants one then let me know!

Also this weekend a friend confessed that they are a fan of my blog and it really really made my day! I felt so good about stuff haha. I really created this blog just for myself but it was really cool to hear someone else reads my blog besides myself and Dave.

Wednesday, September 26, 2012

Are You Ready For Some Football???

My sister loves the Cowboys and the front door of her apartment is lacking in decoration, so since I have been inspired to make 50 million wreaths lately I made her a Cowboys one! She hasn't seen it yet but I think she'll like it!


I used a combinations of this tutorial and this one! I added my own embellishments and of course it had to be blue and silver! I'd love to see pictures of how yours turns out if you make one!!! Until next time, happy crafting!

Monday, September 24, 2012

Here Comes Autumn!!

So Saturday was the first day of fall and I felt our house needed a new wreath! As you may recall I made a felt flag one for the 4th of July, well it has been on our front door since then. It was coupon commotion at Jo-Ann's so I might've gone a little crazy haha. Now we have a new wreath on our door and it fits with the season!


I used:

- 24" Grapevine wreath
- 2 fall leaf garlands
- 1 bag of styrofoam pumpkins/gourds
- 1 bag of acorns/pinecones
- 1 spray of mini pumpkins
- 2 fall seed pod sprays
- 1 gourd spray

If you are making one for yourself, I would suggest using floral wire to tie the leaf garlands and sprays down and then hot glue the others onto the wreath and leaves. If you have any questions feel free to ask! Until next time, happy crafting!!

Thursday, September 6, 2012

Mason Jar Bank

So I was cleaning out the area where my new sewing space/office will go and I found a whole bunch of change. I kept thinking to myself where am I going to put all this change???? Well I had a few mason jars just laying around so I figured I'd make one out of those. This is also a super cheap craft, mason jars are only about $2.00 at Hobby Lobby!


For this project you will need:

-Mason jar with lid
-Cutting tool that can cut through metal
-Marker (not pictured)
-Sand paper (not pictured)


So first you take the insert of the lid and measure the largest coin you will be placing in the bank (I used a dollar coin) and measure an opening on the lid so that the coin would fit if there was a hole there.


Next use the cutting tool (I used a box cutter/razor blade, and it took quite a while to cut through the lid and left it not so pretty looking) to cut out the outline of the opening. Once the hole is cut take sand paper and sand down the rough edges.


Next replace the lid and add your coins! Congratulations, you have just made an easy mason jar bank! Keep it by the washing machine to catch all that loose change or by the door for end of the day filling! I know this tutorial sounds silly but hey maybe someone will get some use out of it, and I had fun making it!

Until next time, happy crafting!


Tuesday, September 4, 2012

ABC party!

So first off happy Labor Day!! Hope everyone had a wonderful weekend, mine didn't have enough crafting hahaha. It did have a lot of organizing. I started to move into my new crafting space/office. It's very exciting!

I did have the pleasure of making Anything-But-Clothes costumes for Dave and me for a party on Saturday! Dave had the most awesome idea to make our costumes out of play money (I was thinking of making them out of different color trash bags, his idea proved to be much better).


I made the clothes out of a black garbage bag first and then we taped fake money from Dollar Tree. Over all they cost us a total of like $4.00! The hard part was the crotch in the shorts. It took a lot of tape and garbage bag haha. We taped the dollars like roof tiles right on to the bag!

Other people at the party had duct tape outfits and another couple had costumes made out of paper bags.

Until next time, happy crafting!

Monday, August 27, 2012

Craft Night!!!

So the other day Dave and I had a craft night... Well a craft 30 minutes before going back to play Borderlands... and we made hemp bracelets!


I had to teach Dave how to make a square knot. He wasn't that bad at it!


The start of the bracelet I made for him and some of the eclectic beads I've collected though the years.


The finished product! This one I made for Dave.


A closeup of the beads.


He was still working on his (maybe only half done) by the time I finished the one I made. :)


The finished product that he made me! He kept saying how the one I made was so much better but I just told him I had more practice. It was really cool to be able to craft with him! Until next time, happy crafting!